I stopped treating AI product photography as a one-click trick after the first test batch. One prompt produced a beautiful background and a slightly wrong bottle. The next prompt fixed the label and lost the mood. That is when I began running an AI product photo generator like a small photo shoot, not like a slot machine.
The sequence below is the one I use when a store needs a listing kit from a real product. It is deliberately boring, because the boring part is what protects product accuracy. The image generator helps with context, composition, lighting, and speed. It should never invent the product.
What I Need Before Generating
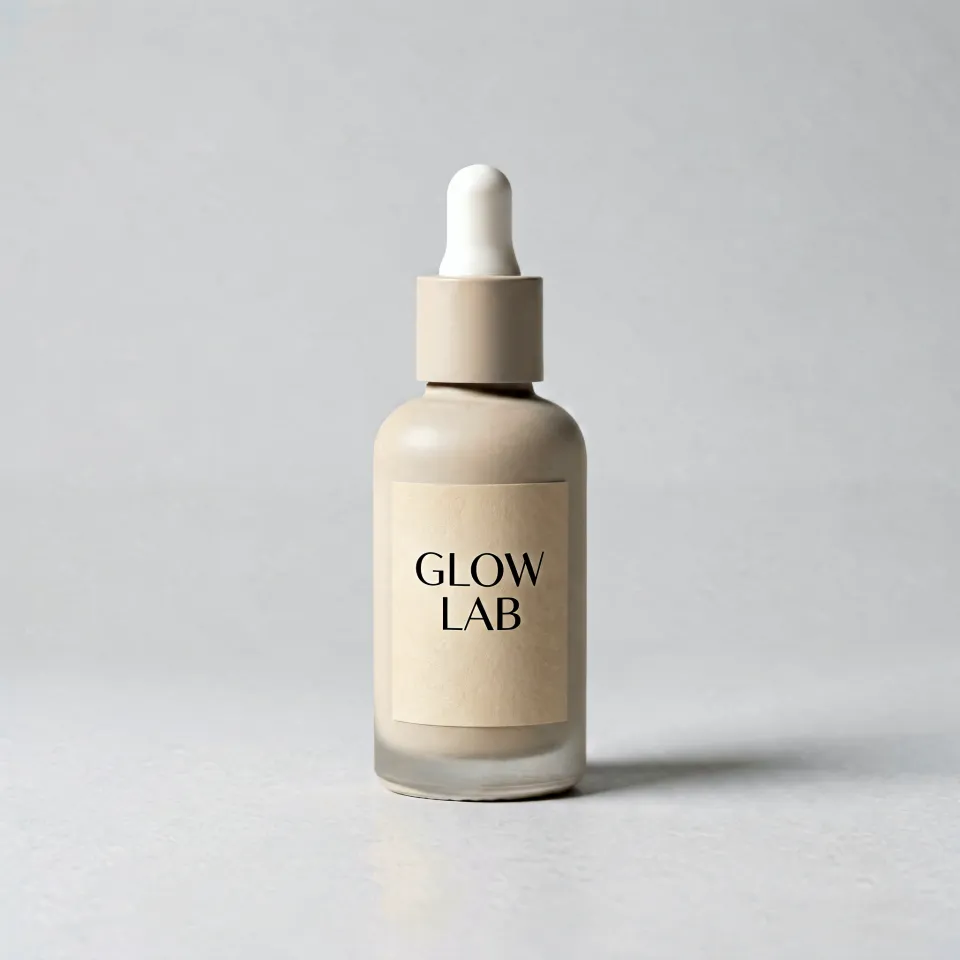
Source evidence: the actual product photo submitted to the workflow. It shows why sharp outline, readable labeling, and even light are pre-flight requirements.
I start with a source photo I would be willing to show a customer. If the source photo is soft, color-shifted, cluttered, or watermarked, the generator has to guess too much. That guess is where bad commerce assets come from.
My pre-flight checks are simple:
- One product is in frame, unless the shot is intentionally a bundle.
- The label, material, cap, stitching, or texture is sharp.
- Lighting is even enough to reveal the true color.
- The outline is easy to separate from the background.
- The photo is at least 1024 by 1024 pixels, and larger when a 4K export is possible.
- There is no watermark, foreign brand mark, price sticker, or distracting prop.
For a phone photo, I reshoot near a window before touching a model. A clean table, a neutral sheet, and a piece of white paper to bounce light are enough. I do not over-sharpen. Excess sharpening exaggerates texture and makes AI output look synthetic.
The Workflow I Run From Start to Finish
- Write one exact product sentence that will repeat in every prompt.
- Choose the commerce intent, marketplace, social, ad, or catalog.
- Select a model based on text handling, realism, and cost.
- Generate three to five variations with only one variable changed.
- Check shape, color, and text against the source photo.
- Export for the destination, then save the approved prompt as a template.
I keep the product sentence separate from the background idea. It usually looks like this, "a frosted glass serum bottle with a gold pump, accurate label, same product as the reference photo." That sentence becomes the fixed part of the prompt. The variable part is only the scene.
Step 1: Brief the Product, Not Just the Background
The prompt "product on marble, studio lighting" is not a brief. It describes scenery but not the thing being sold. My prompt has six parts:
[accurate product description] + [material and finish] + [composition] + [background or prop] + [lighting] + [commercial constraint]For an image-to-image test, I use this structure:
Use the same frosted glass serum bottle with the gold pump from the reference photo. Keep the label accurate. Center the bottle on a light gray seamless background. Add soft studio lighting from the upper left, a subtle reflection, and no extra objects. E-commerce hero shot, no text overlay.
That extra phrase, "same product from the reference photo," matters. Text-to-image can sketch an archetype. For an exact SKU, image-to-image with the real product photo is the safer production path.
Step 2: Choose the Model for the Job
On imgmov, I choose by failure mode, not by buzzword.
| Model | When I use it | Why |
|---|---|---|
| GPT Image 2 | Listing images with readable packaging or text | Standard 1K starts at 2 credits and the matrix scales with quality and resolution. |
| Nano-Banana 2 | Lifestyle scenes and photorealistic contexts | Costs 5 credits per image and supports image-to-image. |
| Seedream 5.0 Lite | Stylized campaign and seasonal images | Costs 5 credits per image and supports image-to-image. |
| SDXL Inpainting | Repairing one area of an approved image | Costs 3 credits per image and works with a mask. |
| Agnes Image 2.5 Flash | Guest research previews | Watermarked, 1K, three previews per day, and not for commercial delivery. |
If the product has a label with spelling that must survive, I start with GPT Image 2. If the image is about texture, mood, or social storytelling, Nano-Banana 2 often feels more natural. For a tiny fix on an approved image, SDXL Inpainting costs fewer credits than regenerating the whole concept.
Step 3: Build the Listing Kit
One hero image rarely covers a store. I generate toward three jobs.
Marketplace hero image
The first image should be readable at thumbnail size. I keep the product large, centered, and free of visual noise. If a marketplace requires a white background, I treat that as a constraint in the prompt, not something to fix later.
Clean e-commerce hero photo of the same stainless steel water bottle from the reference photo, centered on pure white, soft shadow under the bottle, no added text, no extra objects.
Detail image
The second image shows the material. A macro shot can reveal stitching, leather grain, cap threads, or finish quality. I still keep the product sentence unchanged.
Close-up detail photo of the same leather handbag, showing stitching and hardware, shallow depth of field, neutral gray background, natural light, no text.
Lifestyle image
The third image gives the product a life. This is where context helps the buyer imagine ownership.
Lifestyle photo of the same ceramic mug on a light oak desk beside an open notebook, soft morning light from the left, shallow depth of field, calm workspace, no added text.
For seasonal campaigns, I change one mood per image. Holiday, summer, and winter do not belong in the same frame. One scene, one emotion, one purpose.
Step 4: Protect Product Accuracy
Before any image leaves draft status, I check three things:
- Shape, especially caps, handles, heels, buttons, and curved packaging.
- Color, especially cosmetics, food, fashion, and electronics.
- Text, especially brand names, ingredients, volume, and legal marks.
If the label warps, I do not publish it and hope the customer will not look. I either inpaint the damaged area, regenerate with stronger wording, or composite the untouched product photo over the generated scene. The last method is less magical, but it keeps the actual product truthful.
Platform Pass
Shopify
Shopify gives room for brand context. I use 1:1 for product cards, 3:2 or 16:9 for banners, and a consistent grade across SKUs. I name files before exporting, for example sku-hero-01, sku-detail-02, and sku-lifestyle-03.
Amazon and strict marketplaces
I favor clarity. The main image follows the marketplace policy, props stay minimal, and information graphics are added after generation in Figma, Canva, or Photoshop. AI text is unnecessary when the annotation can be added cleanly in a design tool.
I use 4:5 for feed, 1:1 for carousel, and 9:16 for stories or reel covers. The first card stops the scroll. The next cards can show details, scale, and use.
TikTok
For short video, the product photo is only the entry point. I make a 9:16 cover with strong subject separation and room for native text. When the photo is approved, I hand it to imgmov's Product Photo to Video AI workflow.
Cost Control When Volume Grows
Credits punish random experimentation, so I use three prompt tiers:
- Test prompt, low-cost composition and lighting check.
- Production prompt, approved wording at the needed resolution.
- Variant prompt, same approved wording with one changed variable.
Starter includes 1,200 monthly credits, and Pro includes 3,500 monthly credits. GPT Image 2 uses a quality and resolution matrix, while Seedream 5.0 Lite and Nano-Banana 2 cost 5 credits per image. For bulk work, I do not spend high-resolution credits until the composition is approved.
Common Mistakes I Now Avoid
| Mistake | What I do instead |
|---|---|
| Prompting text alone for an exact SKU | Use image-to-image with the real product photo. |
| Asking for five themes in one image | Create separate campaign images. |
| Letting AI redraw a label | Keep labels untouched and post-edit where needed. |
| Publishing the first good-looking result | Compare three to five versions against the source. |
| Changing every prompt variable at once | Change background, angle, prop, or mood, one at a time. |
| Ignoring export size | Decide platform dimensions before generating. |
Frequently Asked Questions
Can an AI product photo generator replace a photographer?
It can replace many repetitive background and lifestyle shoots, but not the source photography. You still need an accurate photo of the real product. For reflective packaging, complex materials, or brand campaigns, a photographer is still worth it.
Is AI product photography allowed on marketplaces?
Check the marketplace's current policy. Many allow enhanced or contextual product images, but the main image usually has to represent the actual product without misleading additions. Keep the product faithful and document what was generated.
Should I use text-to-image or image-to-image?
Use text-to-image for concepting, packaging ideas, and mood exploration. Use image-to-image when the SKU already exists and the output must match its shape, color, and label.
How many variations should I generate?
Three to five is enough for most listing kits. More than that usually means the brief is not finished.
How do I keep cost under control?
Approve composition at a low-cost draft first, then spend credits on the final resolution. Reuse the same fixed product sentence and change one variable at a time.